Every time I mention honey wine, someone thoughtfully corrects me. "Isn't it called mead?" Apparently, wines come from grapes, mead comes from honey, and beer comes from grains. But if that's true, what about Dandelion Wine? I think these definitions are too strict, and a little leeway is needed for the home brewer. Honey wine just sounds so luscious. And it is! This recipe is for Ethiopian Honey Wine, or Tej, which is the first recipe in Sander Katz's Wild Fermentation. His book is an absolute inspiration and I really recommend it. Now for the wine:
For almost all my fermentation projects, I add a little starter (click here to find out how to
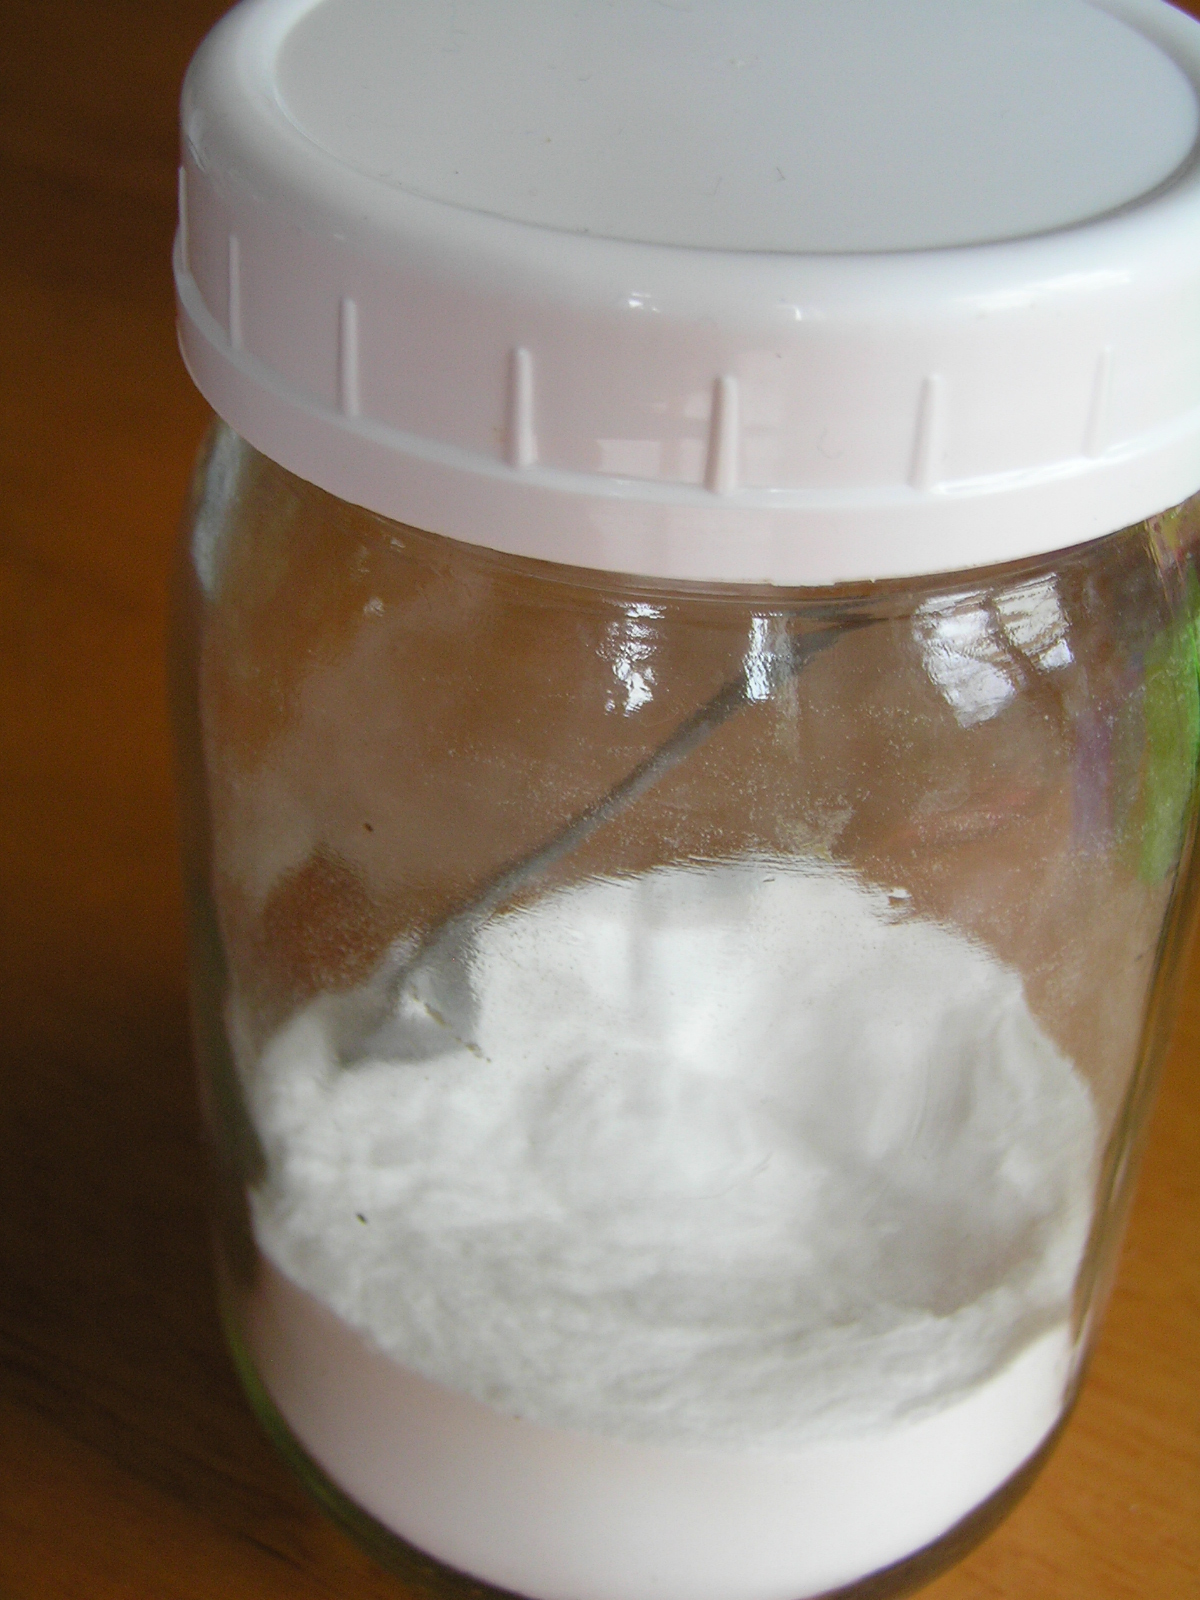
easily make your own fermentation starter, also called a "ginger bug") to help get things going in the right direction. It's absolutely not required in this recipe, but when I did it by the book, I personally didn't get any noticeable fermentation until I added some of my ginger bug. The traditional ingredients are only water and honey, but raw honey has natural anti-microbial properties that inhibit growth of even beneficial bacteria. To ensure you get a live ferment, add 1 cup of soda starter from your ginger bug. The starter takes just 3 days to make and you can use it forever with some light feeding and proper storage.
I use dechlorinated water (read about how to easily
dechlorinate your own water here) for all my ferments, since the intention of chlorine in our tapwater is to inhibit the kind of growth we require for fermentation. Also, I avoid fermenting in metal or plastic, since the acidity of fermentation leeches junk out of those materials. Glass & ceramic are safer for fermentation. I bottle my wine in repurposed glass soda or beer bottles that have a spring-loaded, rubber sealed lid. We bought the soda just for the bottles, which cost more when you buy them empty than we paid for them with soda at the grocery outlet. You can buy bottles like these by the case at brewery supply stores, or use mason jars.
To add a little class to your repurposed containers before bottling your wine, remove the old labels. An easy way to remove labels from bottles & jars you want to use for something else is to lay them in the sink with a soaking wet washcloth over the label, for at least ten minutes. Most labels will slide right off after a brief soaking, though some types of glues hold up irritatingly well to this method.

Supplies you need:
To begin, place honey and water in the gallon jar and stir to dissolve. I will save you the hassle we experienced our first time making this by suggesting you use WARM water to dissolve the honey. Honey just has the hardest time softening in cold water, and honestly getting it to dissolve in cold water was the most time consuming part of making our first batch of wine. Sometimes we just like to do things the hard way ;)
Once dissolved, add your soda starter to kick start fermentation, or trust to the wild yeasts that exist everywhere if you prefer not to use a starter. Cover the jar with a dish cloth, secured with a rubber band, and give it a good stir twice a day. Each time you stir it, you help introduce wild yeasts from the air, and from the surface of the spoon, into your wine. This is why the starter isn't technically needed, but I still like to use it because I know it works and I don't have to cross my fingers that something will happen.
After 3-4 days, depending on the temperature in your house and the yeasts available to your wine, you should have a delicious, bubbling wine base (surely there's a technical name for the wine at this stage?) Using a funnel, pour your liquid into a clean carboy or gallon size apple cider jug. Cover with an airlock or a balloon. Let this sit for 3 weeks or so, until it stops bubbling. I've never used an actual airlock, but presumably you can tell when air is escaping. With the balloon, I simply wait until it starts to shrink slightly. Of course I mark on my calendar to start checking it after 3 weeks. The longer it goes, the less sweet your wine will be, and the higher its alcohol content.

The wine is ready! At this point, we bottle it, stick it in the fridge or a cold, dark pantry, and enjoy. It's light and sweet and a little bubbly, though I'm sure as with all fermentations, each batch is unique. Nik, who is not a wine drinker, really enjoys the honey wine, and it's also gotten great reviews from our friends who are more serious wine drinkers. It doesn't have the tannins or bitterness of a red wine, but is also not heavy or cloying like some dessert wines.
Please refrigerated the finished wine. This method of winemaking does not make wine that lasts forever. It does keep for several months, at least, in the fridge, but since the yeasts are still active, pressure could build up and cause an explosion if not kept cool. Don't worry about it exploding if you keep it cold, though. Compared to the fermented sodas I make, this wine is hardly fizzy at all and doesn't create noticeable pressure in the bottle. It might build up pressure if stored in a warmer area where fermentation could continue unchecked though. It tastes better cold anyway!

After bottling the clear wine, we sampled the dregs. Even the dregs were delicious!
For more on making traditional honey wine, as well as a whole world of other fermentation ideas, check out the original source of my inspiration, two books by Sandor Katz. Both probably available from your local library, but also definitely worth owning. If you buy either through my ad links below, Amazon gives me a tiny bit of cash. Thanks in advance!